Author Archives: Coach Panda

A Stimulating Review

Electric Stimulation: Should I get a Marc Pro or a Compex?

What is E-Stim? By now you have seen a pic or two on social media of crossfit athletes with little electrode pads hooked up to them getting zapped by a tiny little machine. What is the deal with these things? Is it all hype or do they really work and should you get one?

recovery

I am not expert on these matters and I don’t have any strong scientific evidence to base my opinions on. I have been playing with the Marc Pro  and the Compex unit for the last month and will tell you what I found. In my opinion, both machines are excellent and worth the investment but both machines are different and serve different functions. I give several examples below of instances where I have had success with one machine or the other. Depending on your particular needs, figure out which situation sounds most like you and choose from there.

The two most popular machines are the Marc Pro and the Compex. I have had the opportunity to try both of them and here’s what I found.

What’s in the box?

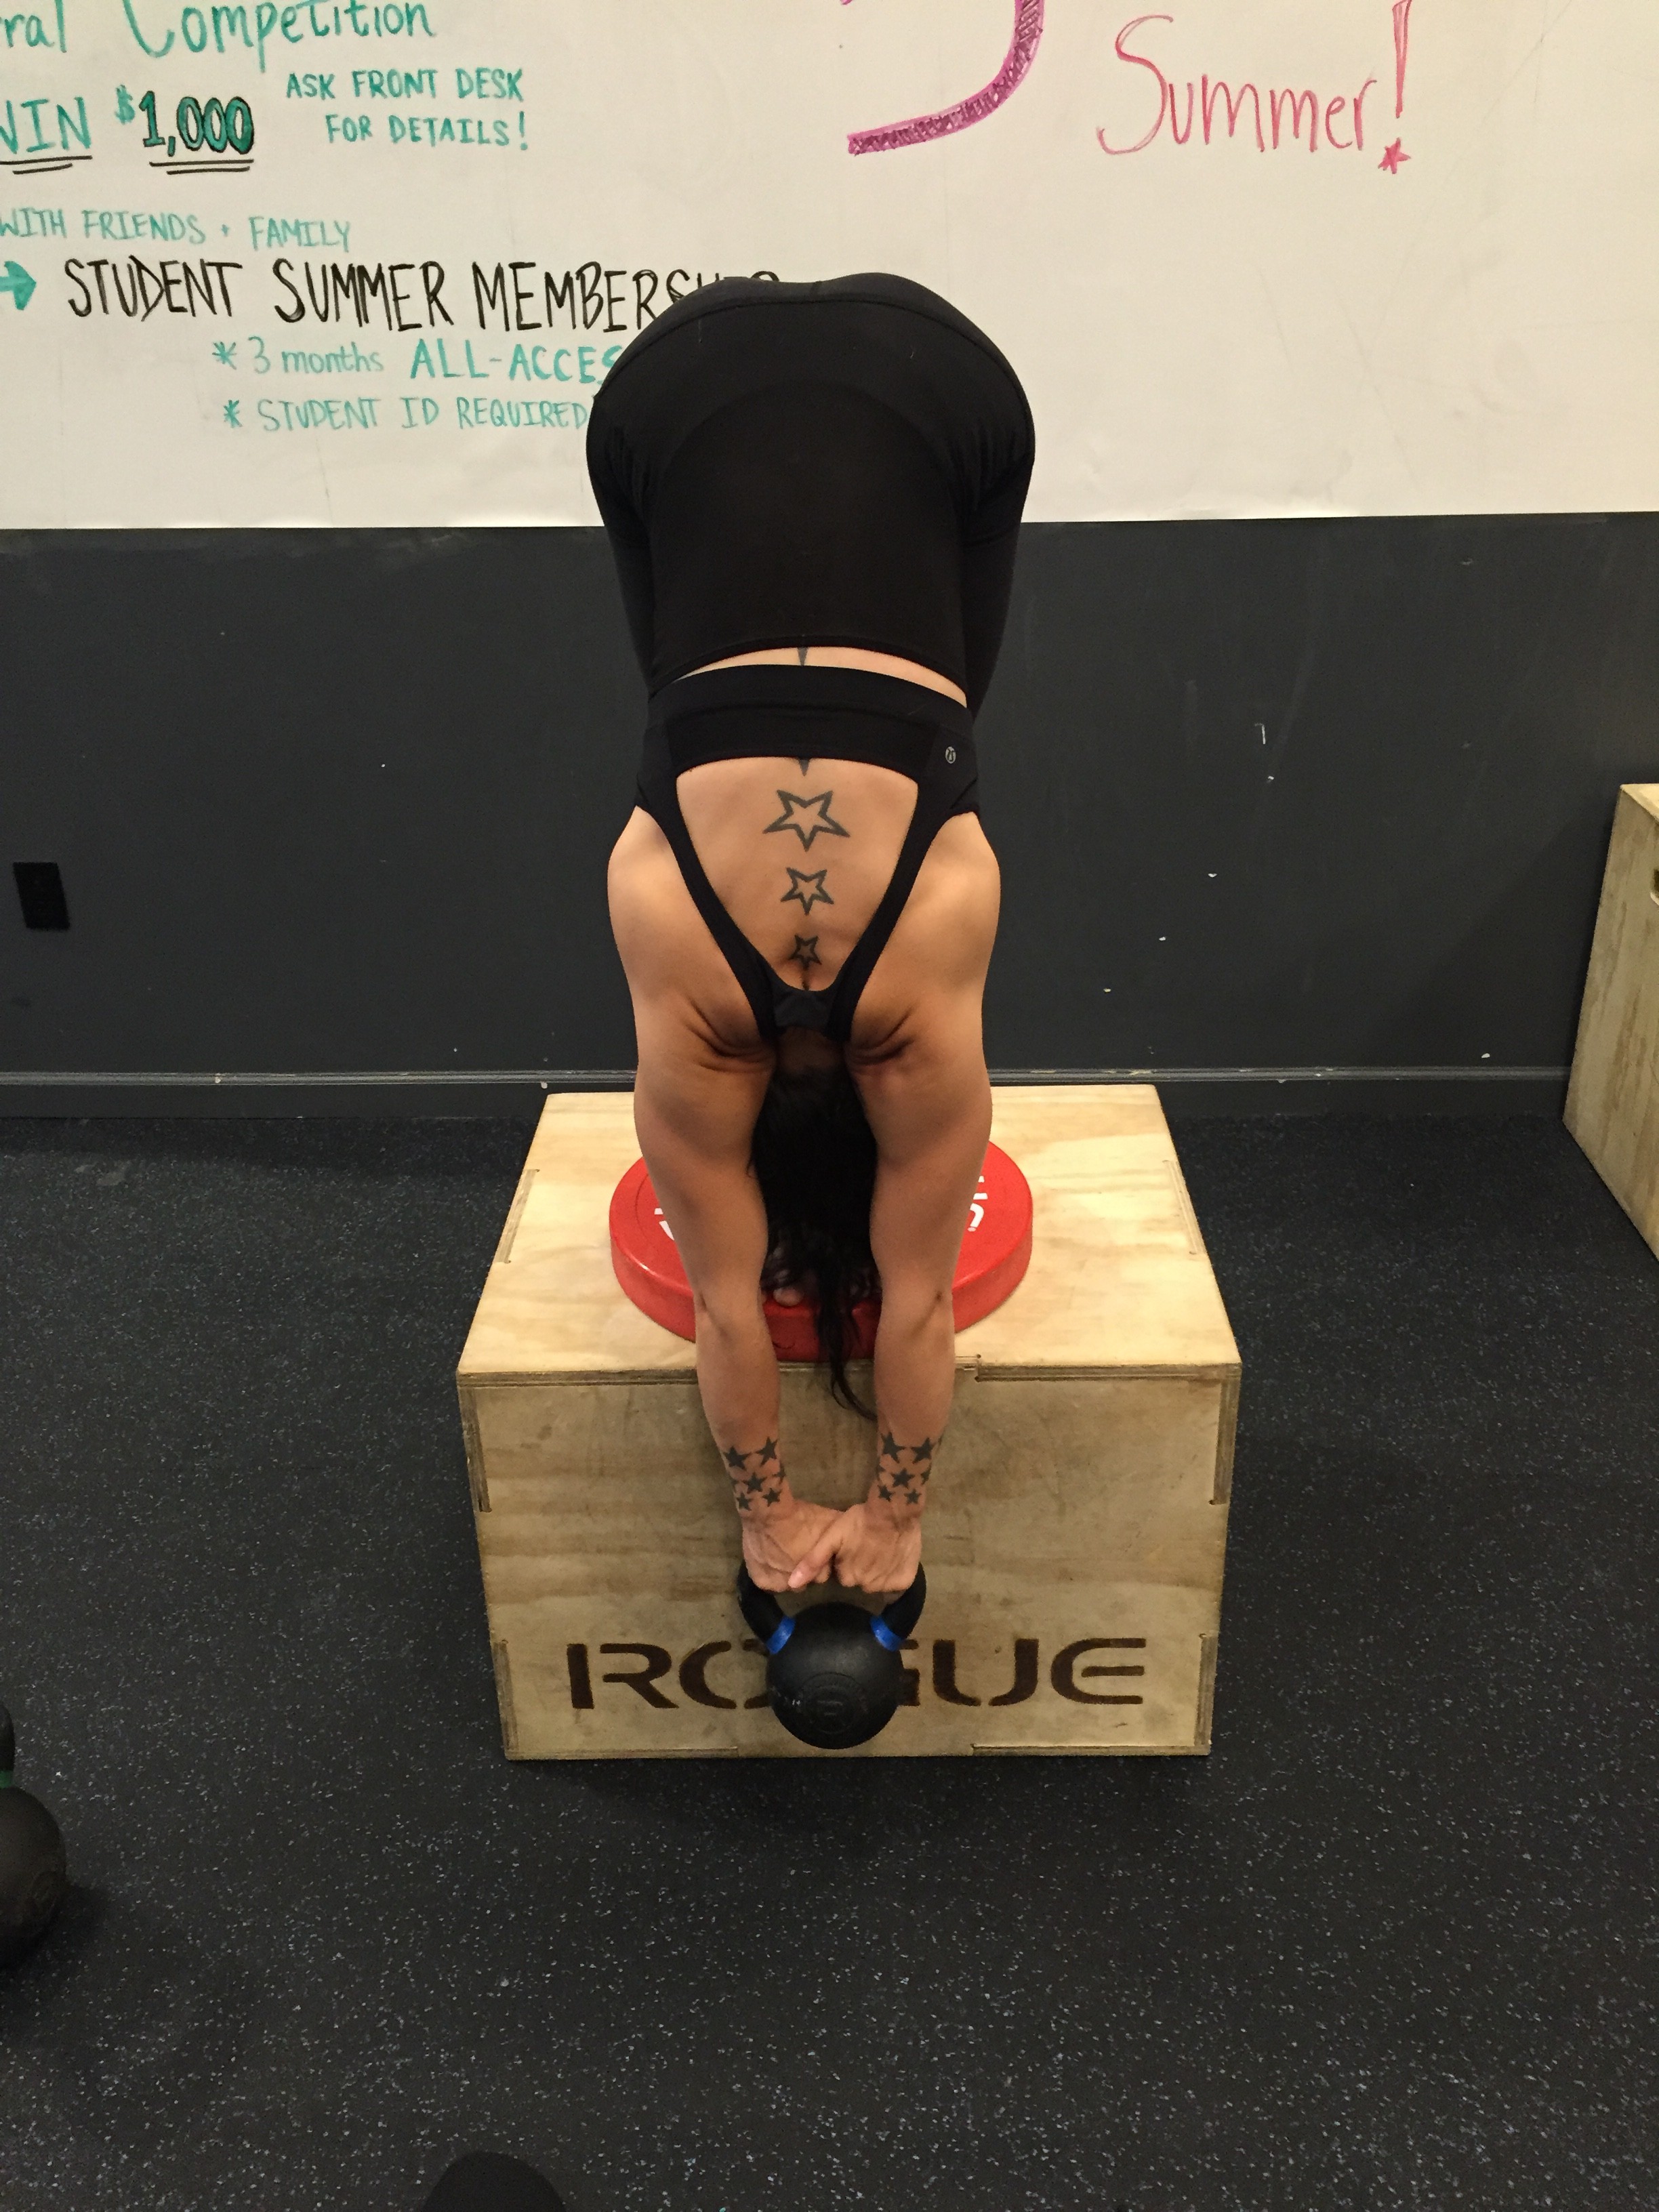
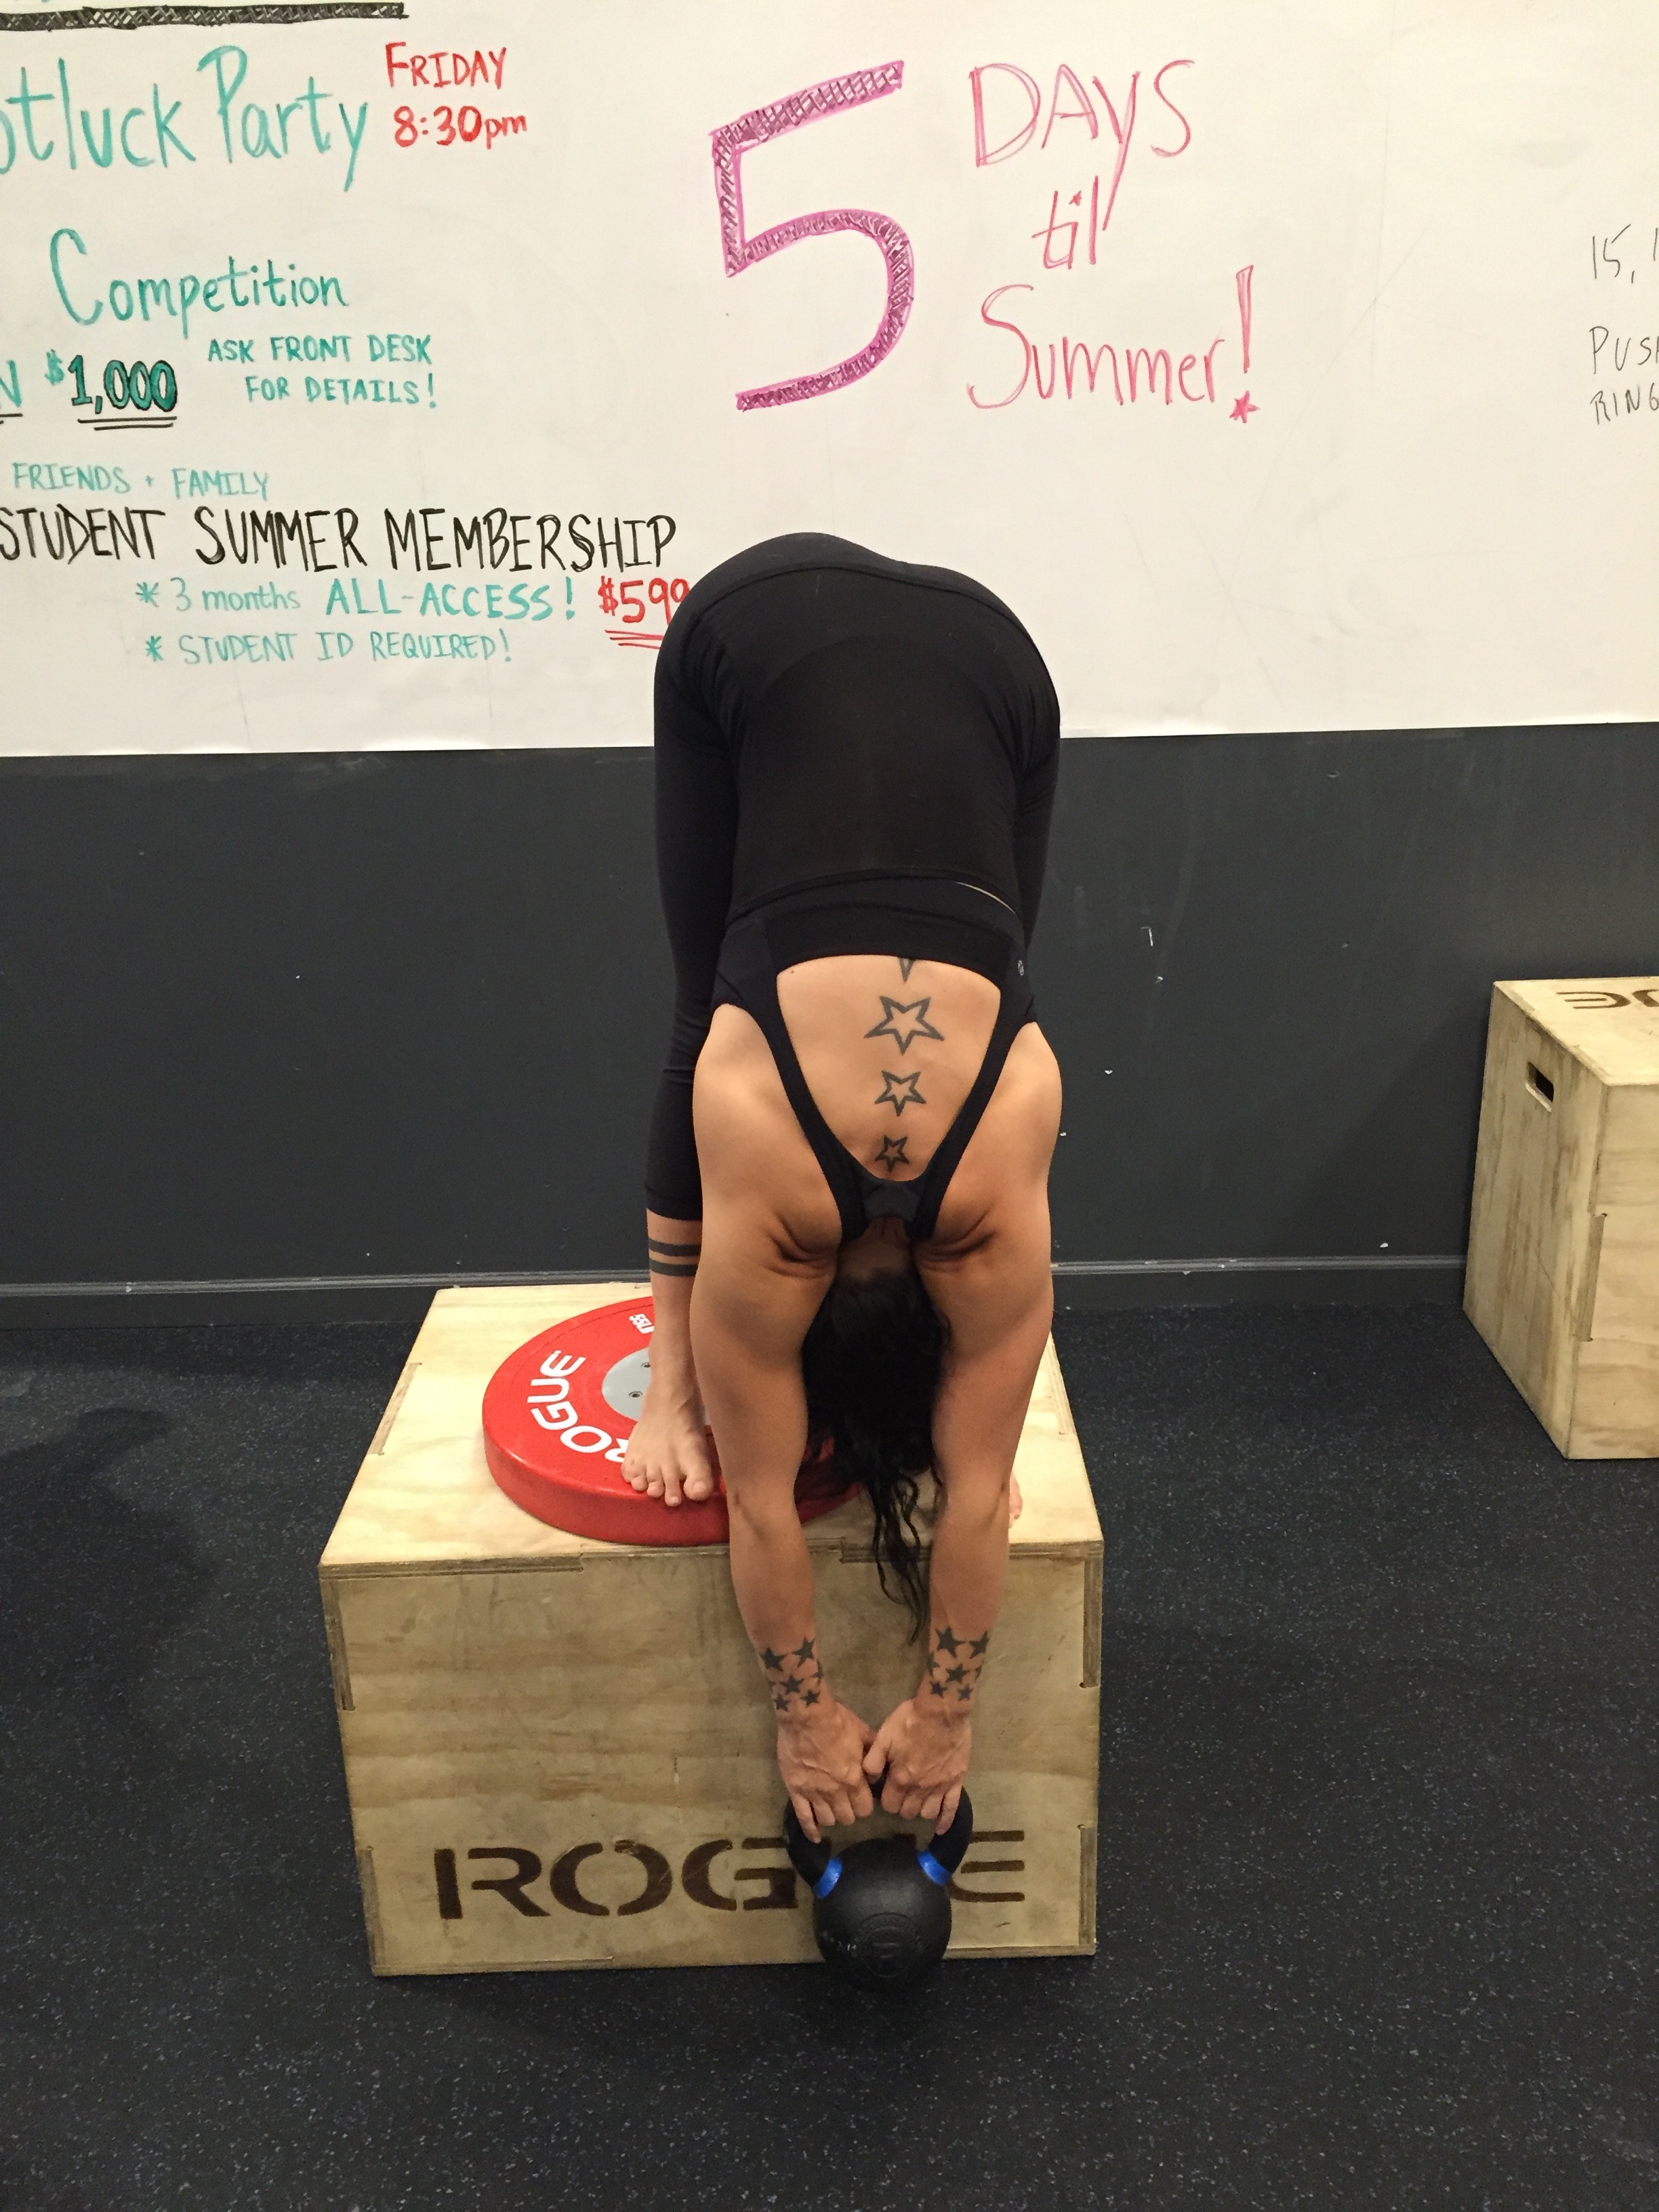
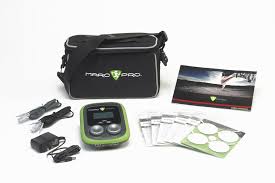
I have had the Mobilitywod edition Marc Pro for over a year and really like it. It comes with the base unit, charger, 5 packs of electrodes, cables, instructions and carrying case. It is the simplest of machines. You connect the electrodes to the cables and plug them into the base unit, attach the electrodes to the areas you want to work and then turn up the knobs to the desired intensity: zero to nine (Oh how I wish it went to 11!). There is nothing else to do. If you like complicated gadgets, then the Marc Pro will disappoint you. If you want something you can set and forget, then this is the unit for you.

I have had a Compex Super Elite on loan for the last month and it comes with the base unit, 4 cables, 4 square pads, 2 rectangular pads, a charger, belt clip, instructions and pad placement guide as well as a carry tote. The tote doesn’t offer any protection and is too small to hold all the accessories. Despite that, the Compex is more compact than the MarcPro, feels more substantial and the pads are thicker, stickier and last longer. Also the pads have convenient snaps that are easier to connect and disconnect. By contrast, the marcpro pads have male to female connectors that are harder to connect and disconnect.

Based on craftsmanship the Compex wins. The Compex has more settings than the MarcPro. The settings are set & forget, but the Super Elite model has: potentiation, resistance, endurance, strength, explosive strength, recovery, recovery plus. It’s overwhelming and I couldn’t find a clear explanation of the differences. Each setting varies in time and intensity and the contraction algorithms are all different. Additionally, the Compex has 4 intensity buttons to raise or lower the intensity of each pad.

Based on output strength and the potential for unpleasant surprises, the Compex wins. You can quickly find yourself experiencing profound levels of discomfort as the Compex goes through various algorithms and zaps the heck out of your muscles.

But when it comes to whether or not to buy an E-Stim machine, it’s all about the results. I will share some great results I have had with these devices.

You want to prevent soreness.

I have been finding that if I do a healthy dose of self-myofascial release immediately post workout, I can prevent much of the Delayed Onset Muscle Soreness (DOMS) I usually get. That being said, sometimes it is simply hard to squeeze in 30 minutes of rolling on my Yoga Tune Up® balls immediately after working out. Sometimes I find myself on a long train or plane ride post workout and rolling is a challenge. The Marc Pro has been a lifesaver. I can put the pads on and flush the lactic acid from my legs and avoid the DOMS.

For example, I did a workout that involved a LOT of squats (“Bring Sally Up”) with my 6pm class, then I taught 2 more classes and took an hour long train ride. When I got home at 11pm, I placed the electrodes on my quads (per the included placement guide) and then ran it for about an hour. It totally prevented the usual DOMS that comes 48 hours past a brutal squat session. If you have a schedule where you cram workouts in where you get them and don’t always have that optimal time to roll and stretch, then the MarcPro is a great investment.

You have pain and swelling.

Inflammation is part of the bodies natural healing process, and we want to help it along. Ice actually delays the healing process. The bodies lymphatic system is stimulated by movement. Traditional coaches will tell there athletes to keep moving after long, painful efforts. After a long run, a cool down walk assists the lymphatic system in moving the waste products out of the muscles and keeps the oxygenated blood flowing into the area. This is another reason why some self-myofascial massage is also beneficial after a strenuous physical effort. However, there are times when more movement just hurts or the area is painful and tender. This is another instance where the MarcPro excels.

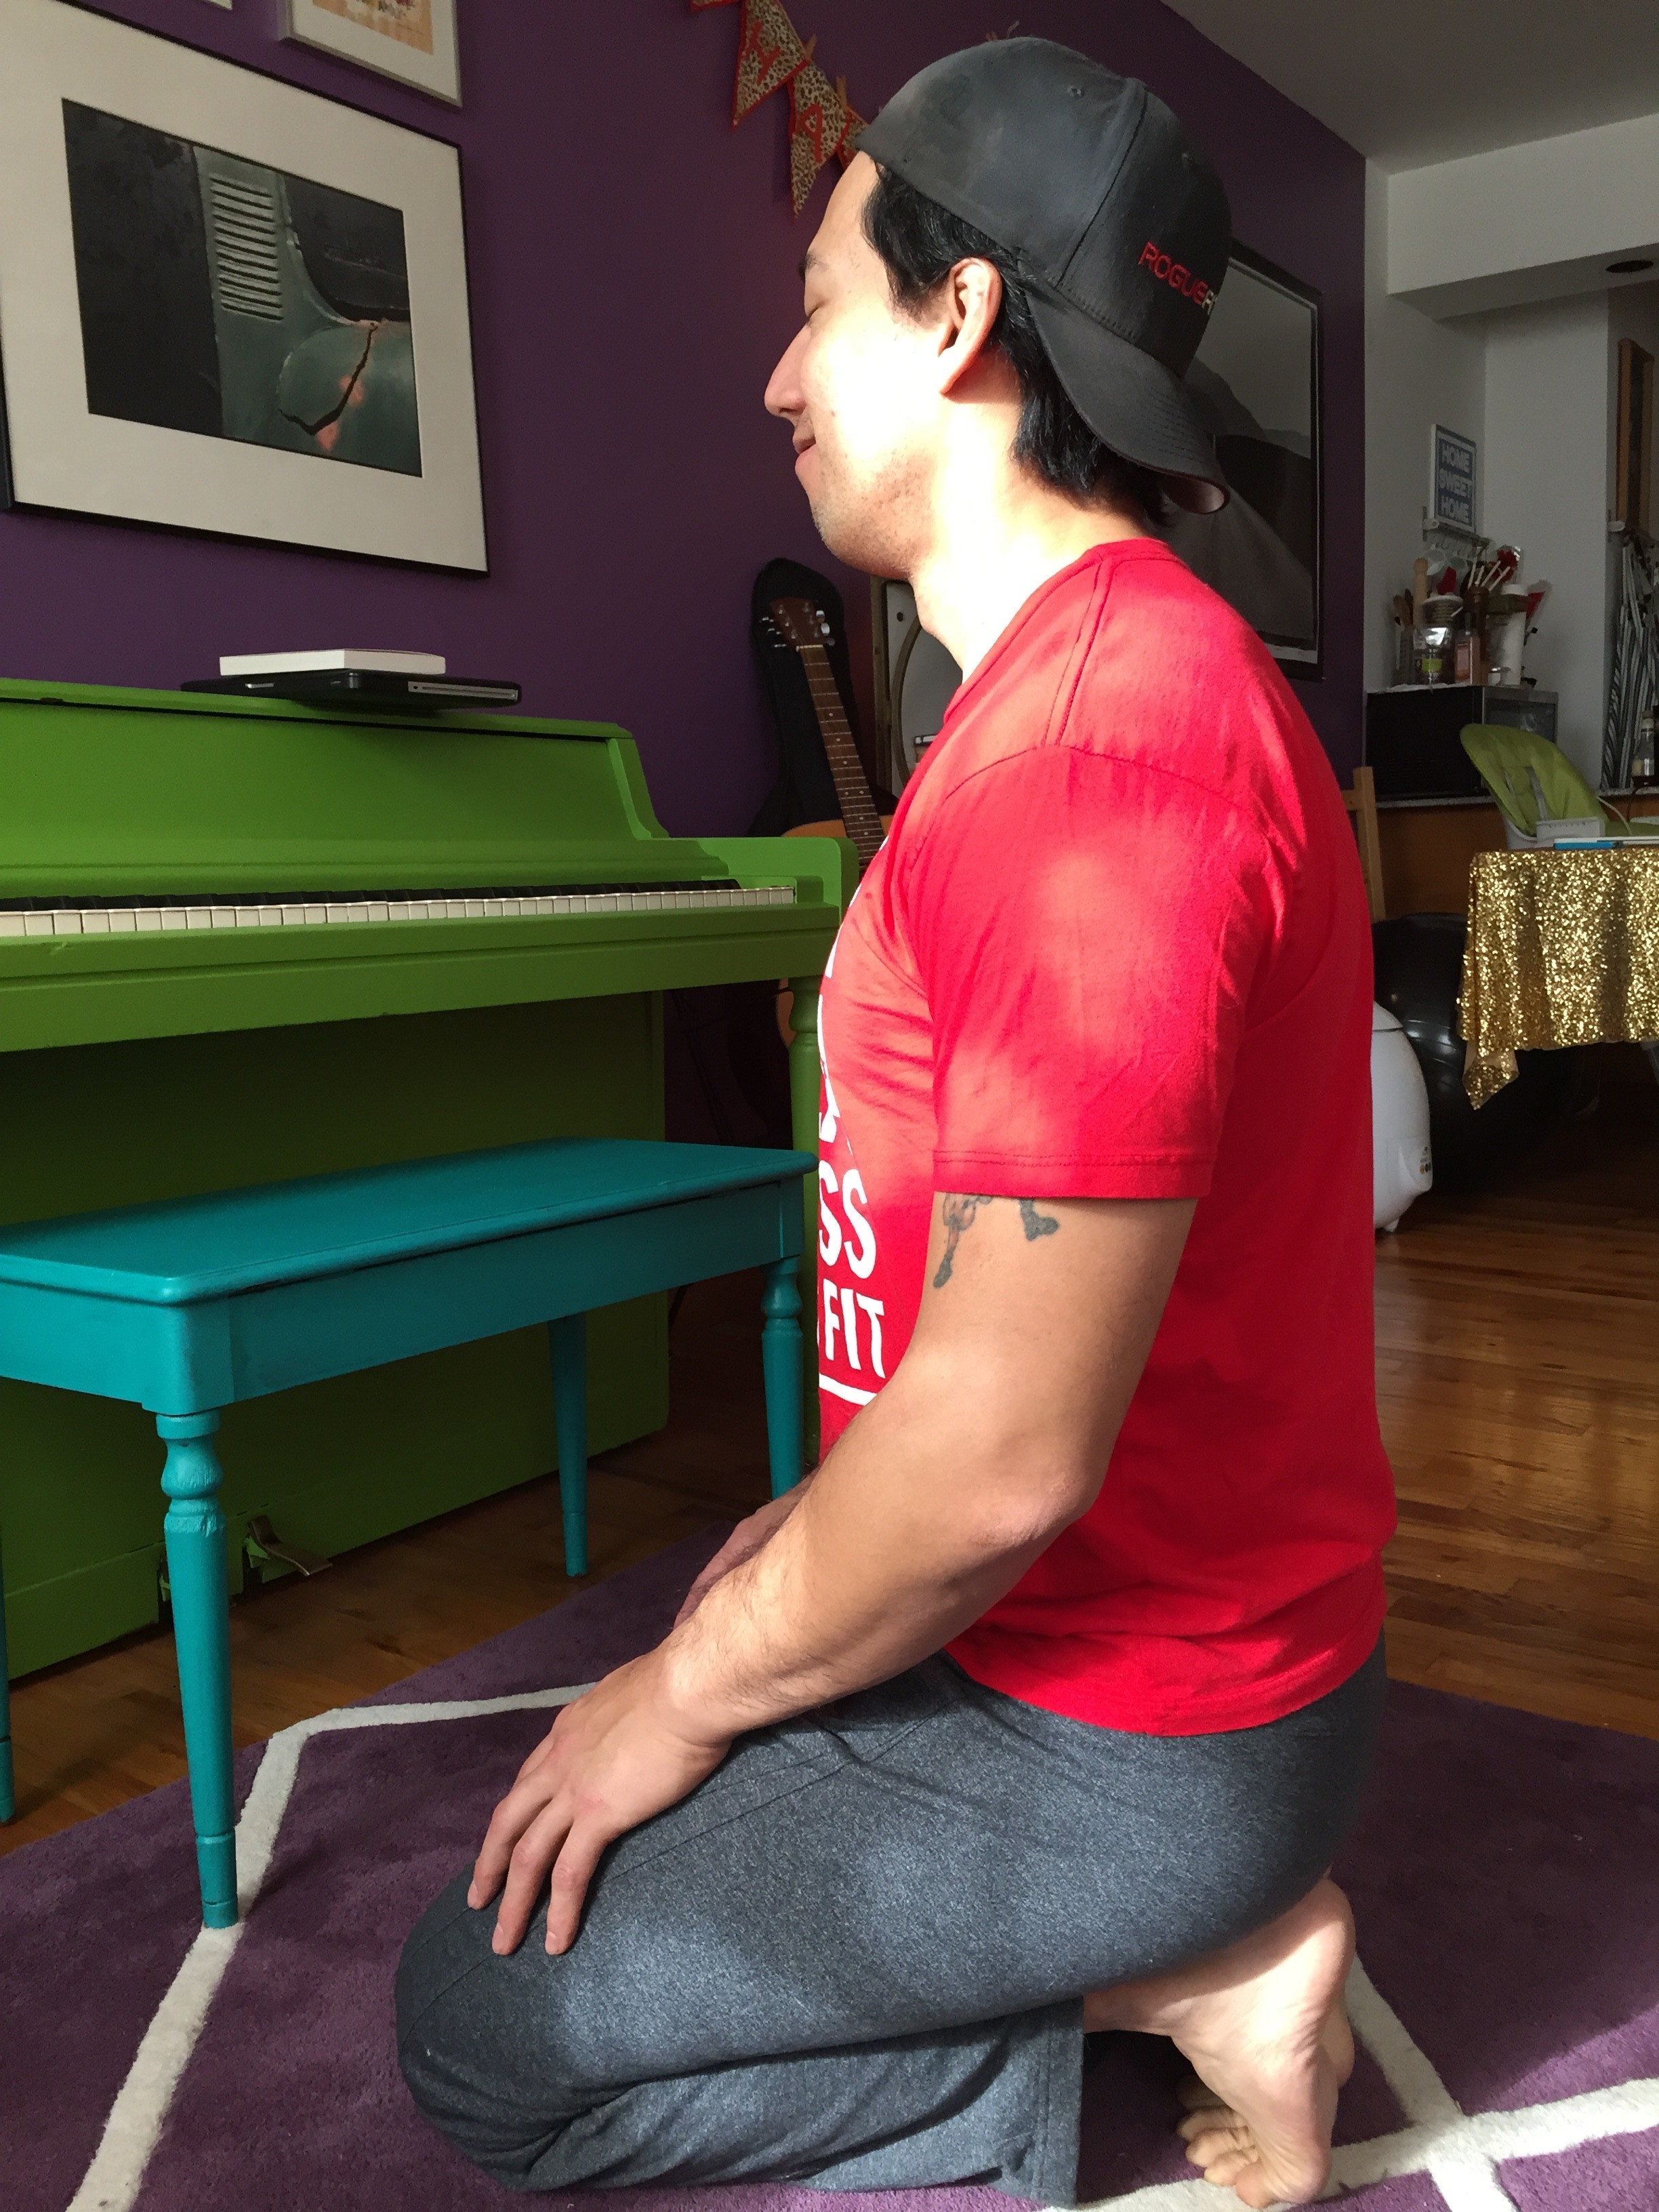
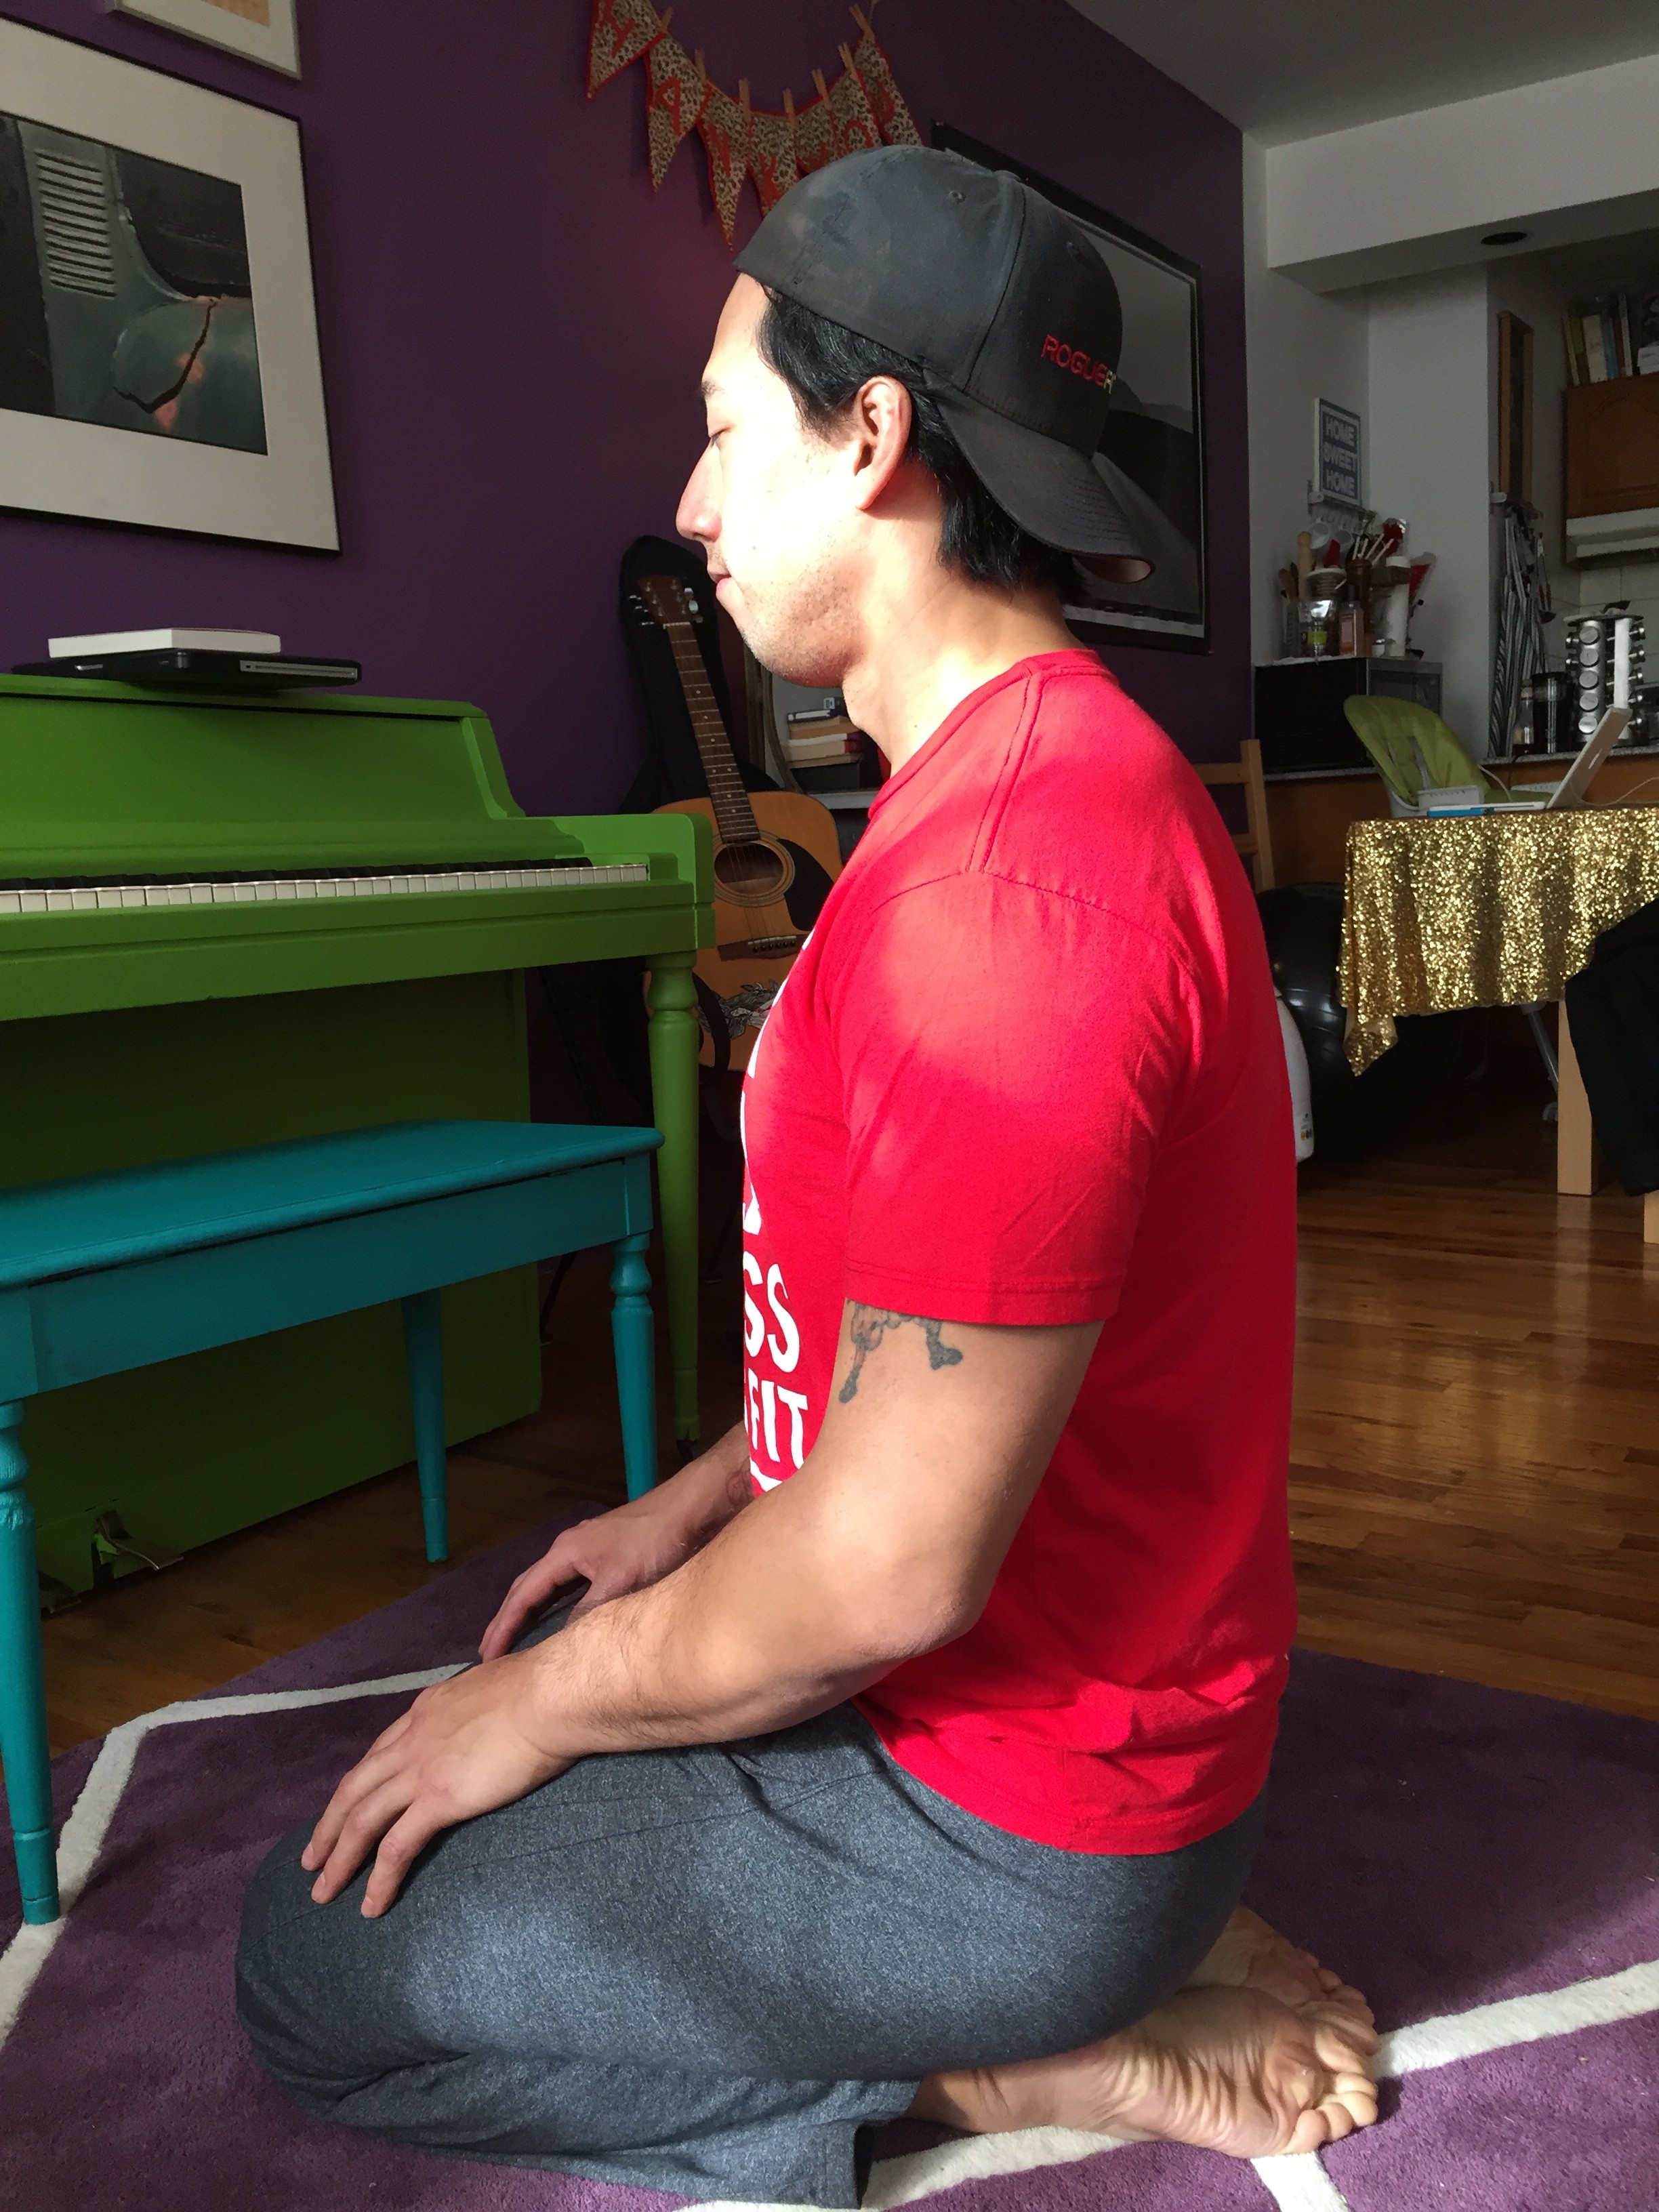
For example, I did a strenuous gymnastic session that involved pull-ups, swinging on the rings and other hanging exercises and my hands hurt really bad. In fact, I woke up in the middle of the night with my hands throbbing and feeling swollen. I got out of bed and grabbed the Marc Pro and placed an electrode in the middle of each palm and one further up my arm (as shown in the placement guide). I kept the intensity low and rested. After around thirty minutes my hands felt normal again and I regained fine motor control. I was able to fall back asleep and woke up and my hands felt great.

Healing an injury.

Occasionally you have an injury that requires you to remain immobilized for a period of time. You have to reconcile this with the fact that movement is the best to heal injured tissues. In these instances there are a few things that work well to aid in the healing process. Voodoo Floss compression bands are great for ankle, knee, shoulder and elbow injuries. A tight wrap around a swollen joint will often blunt the pain signal enough to allow the athlete to gently move through a range of motion (passively or actively) and assist the healing process. Some self-massage around the injured area (NOT ON the injured area) will often help increase circulation. As you guessed, some e-stim around the area helps tremendously.

I have an injured collar bone and doing heavy clean and jerks left me bruised and unable to move my shoulder without pain. I placed the pads on the sternoclavicular joint, the pec minor, the levator scapula and the high pec/subscapularis, essentially surrounding my injured collar bone. I set the marcpro to a low intensity and took a nap. The pain and swelling was reduced and I was able to move without pain after a few sessions.

In another example, I made the classic mistake a crossfit coach makes and demoed some moves in class without warming up. All night my pec was killing me. I definitely strained it. I tried to roll and stretch during the next 3 hours in between coaching athletes but to no avail. I went home and attached the Marc Pro to my pec and left it on for 45minutes. The pain was gone before I went to bed. I woke up and I was sore but the pain was gone.

marcpro

More fun things to try with the MarcPro

I have seen Brian MacKenzie do some interesting work with the Marc Pro (https://youtu.be/jTMDODkTZ8Q) for immediate recovery during interval workouts. Also I have seen him use the MarcPro to increase muscle activation and proprioception. I am curious to try some of his protocols for the Marc Pro in these contexts.

Generally speaking, I am huge fan of the Marc Pro as recovery tool. If you are someone that works out hard and suffers from extreme muscle soreness and pain, then this is a smart investment. That being said, it is not a miracle cure. I have had the best results and the best recovery if I do my rolling and stretching, keep my diet clean, sleep and use the Marc Pro after especially hard sessions. This is not a magic machine that will fix your shitty squat and lower your “Fran” time, but it’s a great investment if you are training hard and looking for a way to improve your recovery game.

compexThe Compex is a different animal altogether and a good compliment to the Marc Pro. It uses varying intensities and speeds and waveforms that are different than the Marc Pro. The Marc Pro pretty much just zaps you at a steady rhythm and you can adjust the intensity but not the speed or any other parameter. The Compex utilizes various algorithms that vary in speed, intensity and duration. For example, you’ll be sitting there all calm and suddenly the machine just zaps your muscle into an isometric contraction that immobilizes you and makes you feel like you’re cramping hard for about 5 seconds. It seems like it is a surprise every time it happens too. For all it’s power the Marc Pro takes advantage of a wavelength and algorithm that allows the muscles to relax and doesn’t leave them feeling fatigued. After a session with the Compex I feel like i just got a tiny workout in the area.

I tried both the ‘recovery’ setting and the ‘recovery plus’ setting, as well as all the other settings, and didn’t have the same result as the marcpro when it comes to preventing soreness. It worked but just not as well as the Marc Pro. So if battling soreness is a priority, I recommend the Marc Pro.

Although I didn’t get as good a result when it comes to soreness, I did get some other great results with the Compex.

Muscle Activation

I have pinched nerves in my neck and as a result my right arm is atrophied and weaker than my left arm. I have been using the Compex in conjuction with corrective exercises to stimulate my right arm and shoulder and have seen an increase in muscular size and strength in my right arm. For a person with similar injuries, I highly recommend getting a Compex to help your injury.

The Compex in concert with corrective exercises is a great tool for getting the right muscles to fire and can be used to enhance the athlete’s proprioception.

Muscle Relaxation

My right lat is always cramping which I assume is due to my pinched nerves and the fact that it has to compensate for my weaker right arm. Using the Compex on my right lat allows my right lat to relax and stop cramping. I have heard similar reports from people that say their backs are tight and sore all the time and they use the Compex to help the muscle release and relax. So if you suffer from cramping or muscles that always feel ‘locked’ or ‘tight’ then again I can recommend getting the Compex.

The Bottom Line

Do you really need one of these expensive machines? Chances are that you do not actually need to get one of these devices. If you are eating right, sleeping enough, doing enough myofascial release, then you are probably fine. If you are a competitive athlete training for an event, sitting/driving/traveling a lot, getting behind on sleep or diet or have some nagging injuries, then an investment in one of these devices is a good idea.

Which one you should you get? The Marc Pro is the clear choice for battling soreness and accelerating the healing process. The Compex is the choice if you need muscle activation and stimulation.

The WOD Doc!

I was so blessed to be on two episodes of the Wod Doc this week. If you aren’t following him on social media or watching his videos, then you are missing out. The Wod Doc, a/k/a Tim, and I go way back to when I did his CrossFit Level 1 seminar back at my old box, CrossFit Virtuosity. Now he’s coaching and putting out videos and changing people’s lives. Spending a few hours with him, I was really moved by how many people came up to him and thanked him for his work. I see him at Regionals and at the Games working on athletes and I know athletes are at home in front of the computer benefitting from his work every day. I have to take this opportunity to thank him as well. I can’t wait to work with him again and to hopefully beat him in a workout one day.

This first video is Panda Stretch which was made famous right here! Since Wod Doc saw it go viral he had to have me talk about it a little and give him a quick demo. Here we see how to bias that full hip flexion first and then pull length into the hamstring by slowly straightening the knees. We also talk a little bit about down regulation and trying to stimulate the para sympathetic nervous system by breathing slowly and deeply and letting the back of the neck relax.

In this next video I introduce you to the Panda Stick. It’s PVC pipe with a rubber super ball taped to the end of it. I showed Tim the “R Cubed” diagnostic: reach, rotate and raise. Lying in child’s pose you reach the arm straight ahead, externally rotate the palm to the sky and then raise the arm off the floor. In the prone position you are biasing a slightly flexed spine, similar to a hollow position, and capturing full knee and hip flexion (hopefully). This allows us to see what your shoulder is truly capable of without compensation from a downstream joint.

We used the R Cubed as our test and re-test and used the Panda Stick for a little scalene release. I show the “Pin, Spin & Mobilize” technique from Yoga Tune Up. It’s a great technique to use on a delicate area like the scalenes which are sensitive to a lot of compressive pressure.

The Power of Asymmetry

Most of us have blind spots: areas we do not propriocept well.  These blind spots hide in the movements we never do, but also live in the movements we do all the time.  Sometimes it pays to take a fresh look at some movements we know well to see if we can discover these blind spots.  I have a few exercises that I do for squats and lunges to help me break out of my routines.  I find these are extremely useful in targeting imbalances and in strengthening my core.  I learned these from Raphael Ruiz and am passing them on to you.

I will start with the squat variations which progressively get more challenging and then show you the lunge variations.  I recommend you video yourself doing these and watch them back to see how your body reacts to the uneven loading (just from watching these videos I see some areas that need improvement in my squat), also video your regular squat before and after doing these to see if there is a noticeable change in your squat.  Perform the squats slowly enough to feel where you lose balance or integrity and can reclaim it.  Roughly a 2 to 4 second descent with a 1 to 2 second pause in the bottom is good to get the most out of these squats.

Variation 1

Off-axis back squat.  Take a barbell place it on your back as far to one side as you can manage.  Try to stand symmetrically and keep the bar horizontal.  Perform 5 back squats trying to remain symmetrical.  Shift the bar to the other side and repeat.

The stimulus varies depending on how upright or “mature” your squat is.  For a vertical squat, the challenge is to avoid side-bending.   What you find is that your obliques work extra hard trying to keep you balanced.  For an immature squat, the stimulus is rotational in nature and you will be using your lower back muscles and obliques to counter rotate and keep yourself squared.

SquatsOffset1 from Force Distance Time on Vimeo.

SquatsOffset2 from Force Distance Time on Vimeo.

Variation 2

Barbell tip drops.  Use the same off-axis barbell position.  Perform a squat and hold the bottom position.  Now slowly bend sideways and touch the long end of the barbell to the floor and come back up to neutral before standing.  Perform 5 reps on each side.

This variation requires you to surrender your good squat position into a very unstable, off-balance position and then reclaim good position.  It will definitely work your core very hard as well as increase your strength and confidence in the bottom of the squat.

SquatsTipDrops from Force Distance Time on Vimeo.

LungeTipDrops from Force Distance Time on Vimeo.

Variation 3

Unilateral, Posterior to Anterior Banded Squats.  Tie a band to your squat rack and loop the end over one side of your barbell.  Walk out until you feel the tension is strong but not pulling you out of alignment.  Do a set of 5 squats.  Repeat on the other side.

Now instead of gravity’s usual pull down, you are contending with a rotational torque trying to spin you around as you squat.  This unusual force will cause many new sensations and cause you to focus on many muscles that you often do not focus on when squatting.  Screwing your feet into the ground and driving your knees out becomes the best strategy for stabilizing against this force.  Also the pull from back to front will encourage you to lift your chest and cultivate a more upright posture in your squat.  I found this to be a great corrective exercise for people that squat unevenly.

SquatsAsym from Force Distance Time on Vimeo.

LungesAsym from Force Distance Time on Vimeo.

You should always be striving to master the basics.   Using variations like this to challenge yourself is a great way to build confidence in your mechanics, to uncover imbalances and to correct them.  Give these a try and let me know what you think.

Get Loaded Get Twisted Get Loose

Here is an advanced set of hamstring stretches that you should definitely respect. These are aggressive and awesome, but you should be aware of the contra-indications. Do NOT do this if you suffer from any of the following: herniated discs, hyper-mobility (including double jointedness, “trick” joints, Ehlers-Danlos syndrome, or a previous history of dislocating joints), low blood pressure, or are pregnant. Seriously, don’t mess with this stuff.

This series of stretches is for those of you that suffer from really tight hamstrings and are generally well-muscled. I wouldn’t recommend it to most people that don’t lift heavy weights regularly. Furthermore, I would NOT do this prior to a workout as static stretching like this can weaken the posterior chain in the short term. Do this when your muscles are warm after a work out.

This is a series of weighted forward bends. In yoga the pose would be called weighted uttanasana. This article will explain how to do it safely and show you some exciting variations that will stretch your hamstrings like never before. Here is what you need: a box or a bench to stand on, a very firm yoga block or one or two large weight plates (I have a 55lb plate in the pictures), and a relatively heavy weight (10-20kg for women and 20-32kg for men).

As a general rule, I would do all of the following exercises unweighted at first to get a feel for them and to make sure the equipment is stable. Once you feel comfortable with the movements, add weight. There is a sweet spot when it comes to how much weight you should use. These are passive stretches and you should be relaxed and breathing slowly and deeply throughout. You should spend a minimum of 30 seconds in each stretch and gradually work your way up to 2 minutes. A weight that feels light at first will feel a lot heavier at the end of 2 minutes. A weight that is too heavy will cause you to be tense and you will not be able to stretch as effectively. I recommend an unloaded barbell or a kettlebell to do these exercises. The barbell is nice because you can load it very gradually. However, the barbell takes up a lot of room and can roll off your box if you try to rest it there. A kettlebell takes up less room and doesn’t roll away when you leave it unguarded. However, you cannot adjust the weight of the kettlebell, so you’ll probably need to have a couple to choose from to find the correct weight.

The first exercise is called a “Jefferson Curl” or a “Weighted Roll Up.” Stand up tall with your feet together. Slowly roll your chin down into your chest, then roll your shoulders forward and start to round over one vertebra at a time until you hands are down by your feet and your head is in looking at your knees. Hold at the bottom for a few seconds and then slowly come up by tucking your tailbone under, stacking your spine up tall starting at the bottom until your shoulders and head come up last. Your hands should slide down and up your legs throughout the performance of this exercise. Most likely you’ve done this in some yoga class somewhere. Now stand on the edge of a box with your whole foot on the box but your toes very close to the edge. Hold the weight in front of you resting on the front of your thighs with your arms long and straight and relaxed. Perform the same exercise letting the weight slide down the front of your legs. Watch out for your toes and let the weight lower past the edge of the box as far as your flexibility will allow. Hold for a few seconds and then roll back up slowly. Perform 5 slow repetitions.

Weighted Uttanasana. Perform a Jefferson Curl but hold the bottom position now. Breathe long, slow, deep breathes. Five deep breaths is a good start. Eventually you want to put a stopwatch on the floor in front of you so you can check in. Gradually work your way up to 2 minutes. Most people cannot straighten their legs all the way. If you find it difficult to straighten the legs, bend your knees deeply, place your belly on your thighs, take a big inhale and as you exhale try to straighten your knees while keeping your belly on your thighs. Do not let the weight swing forward, keep the weight close to the box. It’s okay if it rests against the box (closer is better). Don’t rock your weight forward into the toes, be sure to keep your heels down. Be careful as you stand up, you might experience a head rush. I have my athletes work in pairs and spot each other. Try to do these somewhere that has mats and padded floors and somewhere that you can drop the weight if you suddenly feel lightheaded or off balance.

uttanasana2

uttanasana1

profile2

profile1

Weighted Asymmetrical Uttanasana. I learned asymmetrical uttanasana from Jill Miller. It is a great hamstring stretch but it also causes your femur to get pushed deeper into your hip socket (joint approximation) which feels amazing and helps your hips function better. I, of course, decided to take it to the next level and add weight to it because it makes it even more awesome. Place a yoga block (do not use a squishy foam block. Cork or wood only.) or weight plate on your box. The thickness should be between 2 to 4 inches. Place your feet parallel and symmetrically next to each other so both feet are pointed straight ahead and the toes line up with the edge of the box. Perform the Jefferson Curl with weight and hang down. Again breathe slowly and deeply. Initially, you will not want to put weight into the elevated foot, give it time. Slowly breathe and keep trying to shift your weight back and forth until you feel it is even between both feet. Bend and straighten the knees in time with your breath if you need to. The sensation of the forward bend changes entirely when you are asymmetrical. I suddenly feel it deep inside my hip joint and in my lower back (quadratus lumborum). Before switching sides test your squat or your deadlift setup (or both). You’ll notice the ability to squat deeper on the side that was elevated and notice that the elevated side feels much better in the deadlift setup and the hip will be further back. Repeat on the opposite side.

right1

left1

Weighted Asymmetrical Uttanasana with a Twist. Repeat the Asymmetrical Uttanasana now and while you’re in the bottom position let go of the kettlebell with one hand and reach that hand up to the ceiling, while turning your head and following it with your gaze. Hold this position and breathe and try to broaden across the front of your chest. After about a minute switch hands and twist in the opposite direction. One side will feel much more difficult because of the asymmetry. That’s okay. Keep breathing. Switch your feet and repeat the twists.

right3

right2

left3

left2

Take your time and try to accumulate about 5 to 10 minutes of total time playing with these variations. Bigger muscles require more work to stretch so use a little weight and apply pressure over time to make changes in those hamstrings. Consistency with these stretches will pay off.

Special thanks to my models: Samantha Star and Mike Aidala. Follow them on instagram @lithiumkitten @Mike.Aidala

Shoulders Up?

There is a debate that is still raging on about whether to push your shoulders up or pull them down. This is in reference to the overhead position seen in handstands and some weightlifting moves.  Many schools of thought say the shoulder, or more specifically the scapula, should be depressed when overhead because that is more stable. However, gymnastics and weightlifting coaches often cue “push the shoulders up into your ears.”

What is the correct answer? It depends.  I will examine this from several perspectives.

As an initial point of reference, I refer the reader to Star Trek 2: The Wrath of Khan.  Khan was defeated in the end, because he suffered from two-dimension thinking.  Kirk was able to get the jump on Khan by using three-dimensional maneuvers.  In order to understand the shoulder we must think in three-dimensions.

Overhead we seek to create stability.  The body has two basic ways to create stability: active and passive.  Our body defaults to a passive stability all the time: when we lean our hip over when standing in line; when we rest our chin on our chest while texting; or when the arch of our foot collapses and rests on the ground.  A passive stability is where a joint moves into some end range where, because of bone-on-bone restrictions, it can no longer move and is therefore “stable.”  An active stability is created with muscles and bones working together to create position that is strong yet also has movement options.  For example, externally rotating the hips to create stability in the hips that also allows for strong stable hip movement.  See squatting.

The shoulder, much like the hip benefits from active stability through external rotation.  That’s why our rotator cuff is so important: the Teres Minor and Infraspinatus externally rotate the humerus to create stability.  That is not the only mechanism for stability.  The shoulder is a complex system made up of the humerus, scapula and clavicle.  The scapula and clavicle anchor themselves on the axial skeleton (spine and ribs) and, therefore, the core musculature must stabilize the axial skeleton for the scapula and clavicle to be secure and stable.  A weak core leads to a weak shoulder.

A cue is just a cue.  When you hear the cue “shoulders up”, you shouldn’t mistake that for complex anatomical discourse.  It’s merely a direction designed to elicit as certain action from the athlete.  For example, if I cue someone to lift their chest up during a squat, I don’t care about their chest.  I care about their back and that I see it rounding.  Asking the athlete to lift their chest can create a series of events by which they engage their spinal erectors and bring their spine back to neutral or at least stop the flexion fault that is occurring.  It is a very quick shorthand to fix a fault.  Cues can create other faults.  I might cue an athlete to lift their chest and a series of events might unfold where the athlete goes into over extension of the spine and rocks their weight forward onto their toes.  That is a cue misapplied.  it’s not the cue’s fault, it was merely the wrong cue for that athlete.

When I cue “shoulders up” what do I want and what do I not want?  I want my athletes to actively push against gravity.  Always.  I am strength and conditioning coach and overcoming gravity is the means by which people get stronger. In a plank position, I want my athletes to push down on the ground until the scapula protract and their upper back starts to look slightly rounded (kyphotic).  I also want them to externally rotate so that the pits of their elbows face forward.  So I verbally cue “push the ground down.”  I also might give them a tactile cue of putting my hand on their upper back and tell them to push their upper back into my hand.  I would also tell them to screw their hands into the ground to create external rotation.

When the athlete goes into a handstand the same holds true.  I want the athlete to push the ground down.  I want them to externally rotate.  This is optimal.  What we see is that shoulder flexion and external rotation are both necessary components but there is a tension that exists between them, however they are not at odds.  If I cue “shoulders up” it is because I see an athlete that is not pushing down into the ground and is lazy through the shoulders.  However, I do not want to see my athlete push their shoulders so far up that they internally rotate and lose stability.  As is always the case when working with humans, they are fallible and they can misinterpret directions.

What we see can be misinterpreted.  The eye is fallible.  We need to embody these techniques and it is impossible to understand lifting heavy without lifting heavy.  We can get away with a lot of things that seem right in theory but if that theory does not work when applied to maximal loads then the theory was wrong.

Here is what I see: when I drive my shoulder all the way up to my ear, my humerus internal rotates.  When I actively externally rotate, the humerus screws itself back in and the shoulder appears to drop slightly.  When doing this in the mirror, it looks like I am depressing my scapula.  Under load we might end up in essentially in the same place but the muscular action is quite different and important.  Under heavy load the need to tell an athlete to depress is obviated by the fact that A HEAVY FUCKING LOAD IS PUSHING DOWN ON THE ATHLETE!  The athlete’s job is to PUSH AGAINST THE HEAVY LOAD.  This action of pushing is tempered by the act of also having to externally rotate.   Thus the cue would be to “break the bar.”  The best analogy I can give is to that of a screw vs. a nail.  We do not merely hammer our shoulders up into position, we push up and screw in to create stability.  It’s important that we remember that we are working in three dimensions and there is not one simple cue that will fix everything.

Cueing the Overhead Position from Force Distance Time on Vimeo.

Overhead strength from Force Distance Time on Vimeo.

Here We Go Again

CrossFit bashing even happens from people that compete in CrossFit.  This article from Patrick McCarty, a Masters Athlete, is entitled, Crossfit Regional Workouts 2015: The Good, The Bad, and the Shoulders. 

McCarty goes to great lengths to criticize this year’s regional workouts saying that they are going destroy people’s shoulders and that the volume of shoulder work is too much and that asking people to perform heavy weight, high skill movements under fatigue is dangerous.

Here is the fundamental problem with McCarty’s argument: this is a competition.  Sporting competition is not about safety: it’s about winning!  You simply do not see articles about how bad soccer and skiing are for the knees and that we should stop programming downhill slalom and World Cup tournaments. You do not see articles pointing out how dangerous the NFL is with regard to head and spine injuries and that they should change the rules to avoid contact.  When we engage in sporting competition it is to find out who is the best and part of being the best is enduring the physical demands and pushing past injury and doing whatever it takes to win.  If you are concerned about your safety, then you should not engage in competitive sports.

While I might agree that the programming of the Regionals events is extremely taxing on the shoulders and may lead to more injuries than say another less shoulder-intensive competition, it doesn’t strike me that you will see more shoulder related injuries from this year’s regionals than you would see injuries related to running in the countless marathons taking place every weekend across the country.  It’s not the job of the programmers to come up with the safest test of fitness.  It’s to come up with the best test.  Certainly McCarty can argue that this year’s events do not test certain exercises or time domains or certain skill sets and argue that it is not a balanced test.  However, requiring the safest test of fitness is ludicrous.

We don’t watch the X-Games to see the safest motocross jumps and skateboard tricks.  We want to people push the edge of their physical limits. That’s what makes sport so exciting.

If you want to perform CrossFit safely (and you should!), then eat right, sleep a lot and go to the gym for an hour a day. Crush the WOD and do your skill practice and work on your weaknesses and most importantly keep your form good.  CrossFit is a great prescription for health and fitness.  If you want to compete you have understand that you are making a choice to do something that doesn’t necessarily align with health.  You have to compromise your safety and wellbeing in order to win.


A Doctor’s Ridiculous Opinion of CrossFit

So T-Nation, a well-known anti-CrossFit website, just posted an article called “A Doctor’s View of CrossFit.” Dr. Stuart McGill, a well-known back care specialist says some pretty ridiculous things about CrossFit.

In general, I believe Stuart McGill to be one of the better experts out there on back care.  However, that doesn’t make him an expert on weightlifting, CrossFit, sports, strength and conditioning programming or really anything else other than back care.  Thus his opinions on any of those topics don’t hold much weight.

Let’s examine some of his poor logic. He claims:

“While attending the CrossFit competition at the Arnold Classic, one thing really stood out: the lifting technique was just awful.

I did not see one competent lift. Not one! And things only got worse with each rep and set. (I will note that I have consulted before with some CrossFit gyms and there are some very competent lifters.)

No corrections from the coaches, only encouragement to continue lifting. The injured athletes went down to the medical tent where I saw very strange and, in my view, inappropriate chiropractic and physical therapy approaches being administered.”

My first problem with this statement is that he is at a competition and is dismayed by the poor form and the lack of people giving corrections.  Correct me if I’m wrong, but I know of no sport where coaches shout to the athletes about form.  Football players aren’t cautioned about how to tackle when they hit each other.  Tennis coaches aren’t even allowed to talk to their athletes and batting coaches don’t caution their hitters to make sure not to over rotate.

McGill does not even understand sports.  The point is to win, not to be safe.  He is barking up the wrong tree, why doesn’t he write cautionary articles about back injuries in football, tennis, gymnastics, powerlifting or breakdancing?  Because he likely wants to get his name out there and bashing CrossFit is the easiest way to do it.

He still misses the point and says the chiropractors and physical therapists were inappropriate.  As if CrossFit was responsible for the quality of the third-party medical staff.  He might as well complain that the price of hot dogs and beer was outrageous and parking was terrible.

He states that maintaining good form is important, which nobody argues with, not even CrossFitters.  However, conflates what happens in a competition with what happens in training which are two different environments with two distinctly different goals.

Then McGill starts to talk about programming and even cites some studies that he performed on police and firefighters.  He admits “the guys who trained more moderately were slightly less fit, but they were sufficiently fit, and more injury resilient.”  A rather bold claim.  By our definitions and standards in CrossFit, one could not be both fitter and more prone to injury.  Our definition of fitness is based on work capacity and a significant injury would reduce your capacity and thus reduce your fitness. So we take precautions to make sure our athletes are safe and do not get injured–We coach them.

Second, he claims that these firefighters and police officers were “sufficiently fit.”   As the physical challenges that befall firefighters and police officers are often unknowable, it is illogical to claim that one can ever be “sufficiently fit” for that job as insufficiency would result in catastrophic injury or death.  Thus an arbitrary metric like a PT test would be of little value.  The goal would be to maximize your fitness to the best of your ability to be prepared for the job.

Furthermore, McGill goes on to say this:

“We’re just publishing a study where we trained a group of firefighters with a program of substantial repetitions and weights but we did not coach form – the emphasis was on completing the reps. This will sound familiar to the CrossFit community.

In a second group we had a coach insist on good form for every rep, stopping when form broke, and continually correcting.”

Another unsubstantiated claim that CrossFitters do not coach movement.  His “study” suggests that coached athletes do better than un-coached athletes.  Nobody, not even CrossFitters, would disagree.  We state quite clearly in CrossFit that performing functional movements with excellent form is the best way to prevent injury.  Again McGill is just trying to be misleading to get some notoriety.

He goes on to make many claims about bad coaching being synonymous with CrossFit coaching which is just unfounded.  There are bad coaches everywhere, yes even in CrossFit, but CrossFit certainly does not have the monopoly on bad coaching.

Lastly, he takes that classic dig at CrossFit for programming high rep Olympic Weightlifting.  The claim that that is bad is so old and so unproven that it’s laughable that he is still making it.  First, it contradicts something that McGill himself preaches: lower back endurance.  He is a big advocate of stamina over absolute strength when it comes to protecting the lower back, i.e. doing more reps at lighter weight than low reps at heavier weight.  Yet tries to compare the risk of snatching 135lbs for reps to the Olympic Lifters that do singles and doubles….at over 300lbs.  Furthermore, we see Girovoy sport specialists do double Kettlebell Clean and Jerks for 10 minutes with two 32kg ketttlebells and score well over a hundred reps.  Yet, nobody is complaining about that. Why because nobody would bother to click on your link if you put that on your Facebook page.

McGill claims the program is faulty, but time has shown that the program works.  McGill conflates CrossFit competition with CrossFit for fitness and health and misunderstands the different goals.  McGill is upset by the lack of good coaching.  So is everyone.  It’s not a CrossFit problem it’s a world problem.  He’s not writing an article about how many fat nutritionists there are.  He’s not writing about how prolonged sitting leads to more back problems and disfunction than CrossFit, because he wants attention.  I used to respect him, but once he joined the haters at T-Nation he lost me.  Using his title as “doctor” to sling arrows and make ridiculous accusations is just cheap.


The Right Dose of Exercise

The New York Times just posted this article on their blog: The Right Dose of Exercise.   The articles cites two new studies that tried to establish relationships between exercise and longevity.  The ultimate recommendation is that “anyone who is physically capable of activity should try to reach at least 150 minutes of physical activity per week and have around 20 to 30 minutes of that be vigorous activity.”

While I agree with the idea that we should move more, be less sedentary and do more “vigorous activity.” I do not necessarily agree that a longer life is a better life.  The problem with longevity as a metric is we can’t measure it until you’re dead.  Those of us that are around now can benefit from these studies, but we would be better served by using and studying metrics that apply to our daily lives and speak to our quality of life.

CrossFit measures fitness as our work capacity across broad time and modal domains. This is a definition that speaks to our quality of life.  Increase your work capacity now and improve your quality of life.  Chances are you’ll live longer too.

Take A Seat

There has been a recent backlash against sitting and rightly so. Sitting has been heralded as the new smoking. Sitting at a desk hunched over a keyboard, staring at a computer screen is terrible for you on so many levels. I won’t go into all of it because I feel it has been well documented. Suffice it to say that if you don’t work standing up by now, consider getting a standing desk as soon as possible.

Sitting in a chair may be necessary at times, but eventually degrades your ankle, knee and hip mobility.

Sitting in a chair may be necessary at times, but eventually degrades your ankle, knee and hip mobility.

Clearly there are times when sitting in a chair is inextricably linked to the activity at hand like when you are driving your car or playing your piano. That being said, there are plenty of options for the sedentary beyond those instances where you can make a better choice about how you sit. The next time you sit, bypass the chair and go right to the floor. Sitting in a chair limits your range of motion and causes you to ultimately get tighter and shrivel up and die. Sitting on the floor actually requires greater range of motion and will help your joints stay supple and you’ll live a longer, healthier life.

Here are the four most common and productive ways to sit on the floor. If you haven’t been that close to the ground in a while, these can be challenging. Put your chairs up for sale on Craigslist and start reaping the benefits of sitting on the floor. It’s no accident that cultures that traditionally sit on the floor maintain their mobility throughout their lives.

Sitting cross-legged increases the external rotation in your hips and can be very comfortable for long durations.

Sitting cross-legged increases the external rotation in your hips and can be very comfortable for long durations.

Sitting cross-legged. The classic way most people sit on the floor is still an excellent choice for the person that needs to sit comfortably. Whether you are working, eating or meditating, the cross-legged seat provides a stable position in the pelvis because it passively allows your hips to externally rotate and that creates a good platform for you spine to stack itself nice and tall.

Sitting in a straddle is a great way to stretch your hamstrings while you multitask.

Sitting in a straddle is a great way to stretch your hamstrings while you multitask.


Sitting in a straddle. The next option is the straddle seat. For most deskbound types, this is extremely challenging due to the tightness of the hamstrings. Mulitple cushions might be necessary to elevate the butt high enough to allow you to sit up straight. Prolonged exposure to this position will cure your tight hamstring condition and make your cartwheels look amazing. Ask any highschool cheerleader or dancer and they will tell you they did their homework sitting in this position so they could stay flexible.

Sitting Seiza with the toes tucked under is a great relief for your plantar fasciitis and your tight calves.

Sitting Seiza with the toes tucked under is a great relief for your plantar fasciitis and your tight calves.

Sitting in Seiza with your toes pointed is a great stretch for your ankles and your tibialis anterior.

Sitting in Seiza with your toes pointed is a great stretch for your ankles and your tibialis anterior.


Sitting in Seiza (or Seza). The classic Japanese sitting position is called Seiza and common in all martial arts classes. Seiza is tough on Western people’s knees and ankles so start off by practicing on a soft surface with padding. If you’re knees are screaming, trying placing a pillow between your heels and your butt to raise yourself up a little higher. If you’ve been living an above-parallel life, Seiza will be a challenge but well worth it as it puts the knees and ankles into full flexion. Sitting in this position has two variations. I recommend alternating between having your toes tucked under and pointing your feet. Both positions are great and necessary stretches for the ankles. With the toes curled under and the feet in dorsiflexion, the plantar surface of the foot is stretched as well as the toes and the calves. This will prove difficult for women who wear high heels. With the toes pointed in plantar flexion, the top of the foot is stretched as well as the anterior side of the shin. This will often be very difficult for runners. Sitting in Seiza is a must for active people. You may not be able to sit like this for long, but a little bit every day will help with your lower leg mobility.

There is nothing a squat can't fix.

There is nothing a squat can’t fix.


Squat. Yes, you knew I would get around to saying you have to squat. However, today I don’t want you to squat for reps or weight. I simply want you to start squatting as a form of rest. Get into that squat when you’re waiting for the bus or going to the toilet. Get into your squat when you want to drink some coffee and send some text messages. Get comfortable down there. It’s not unreasonable to spend 10 minutes in a squat. Don’t fear the squat.

Spend more time on the floor and see how your mobility improves. Not everything has to be about doing more. Sometimes you just have to find a slightly better way to do the things your already doing. Instead of sitting in a chair, get down on the floor.

Here We Go Again

70a56dfc4e30822056e80b73cd0deb69
‘Tis the season for starting a new diet. I am sure most of the people reading this are considering a paleo, zone, Whole30, flexitarian or other challenge come 2015. I fully support you and so do my friends. Maybe you have done it before. Maybe you are jaded by the less-than-stellar results of previous New Year’s resolutions. Have no fear. The new year is teeming with possibility. There are so many people in your corner willing to help you. Me for instance…and my friends.

CrossFit Solace is hosting a paleo challenge. The only thing better than being a better you in the new year is to be a better you with better friends. I love doing challenges with a community of like-minded peers that help each other succeed.

CrossFit NYC is doing the Whole 30. My friends Dallas and Melissa Hartwig’s Whole 30 website is the best online resource for people going paleo. If you have a question, they have an answer.

CrossFit has always encouraged people to eat meat, vegetables, nuts and seeds, some fruit, little starch and no sugar. And to keep intake to levels that support exercise but not bodyfat. CrossFit has always leaned on the Zone diet for precision and accuracy in feeding the machine. I always encourage everyone to try the Zone diet for 30 days. It will give you a tremendous insight into proper portions and control over what and how much you eat.

If you are like me, finding time to cook can be impossible. My friends at Kettlebell Kitchen are always on call with great meals prepped and ready to go. I highly recommend utilizing them for for stocking your fridge with ready to eat meals.

When I need to cry from lack of sugar, I know I need someone to talk me off the ledge. That person is Liz Barnet, a friend and a nutrition coach that is ready to coach the coach through the hard times that inevitably arise when you give up sugar and booze. Get her in your corner to help you meet your goals this year.

“Let food be thy medicine and medicine be thy food.” –Hippocrates